Last Update Posted: May 22, 2024
"XRP Wallet EXARPY" is an anonymous platform for managing your XRP cryptocurrency assets.
1.1 Objective of the Application.
The aim of the "XRP Wallet EXARPY" web application is to provide users with a user-friendly, anonymous, and secure desktop wallet for XRP.
1.2 Exclusive Key Features
- User registration is not required,
- Privy payments,
- Encryption of text messages.
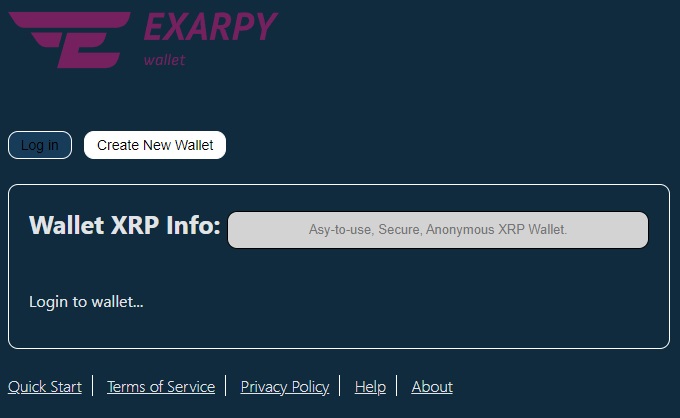
2.1 Launching the "XRP Wallet EXARPY" web application
1. If you are using the "XRP Wallet EXARPY" web application for the first time, click on the "Create New Wallet" button and follow the on-screen instructions.
 2. Copy and save the provided Password to a safe place.
For example:
- On an encrypted USB flash drive,
- In a secure password manager.
3. Copy and save the provided Passphrase to a safe place.
For example:
- On paper,
- On a specially prepared metallic plate.
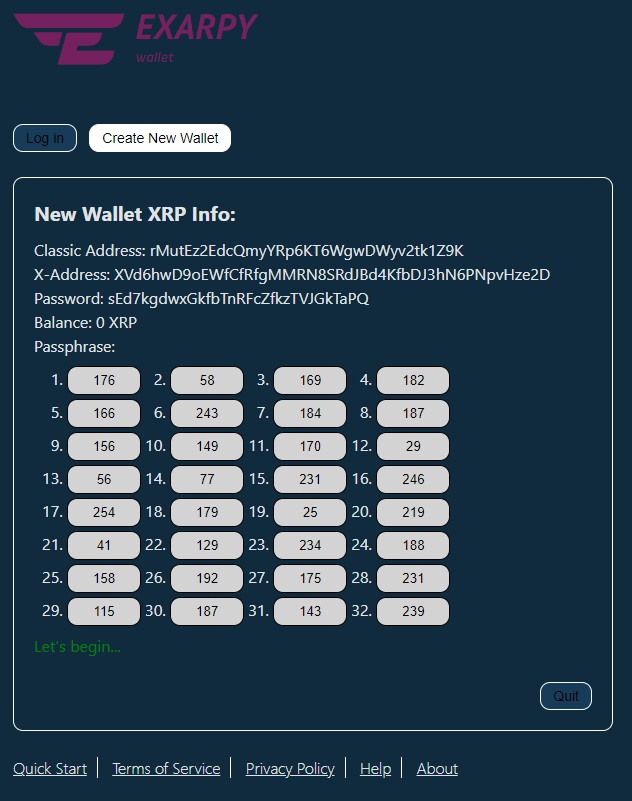 4. To prevent errors in writing down the passphrase, triple-check its accuracy, including entering the passphrase into the corresponding form for password recovery.
5. Keep Password and Passphrase in a secure place. The Password and Passphrase should be stored in different locations. Remember, the loss of the Password and Passphrase will result in the inaccessibility of your funds!
2.2 Logging into the "XRP Wallet EXARPY" web application
When logging into the "XRP Wallet EXARPY" web application, you will need the Password you obtained in step 2.1:
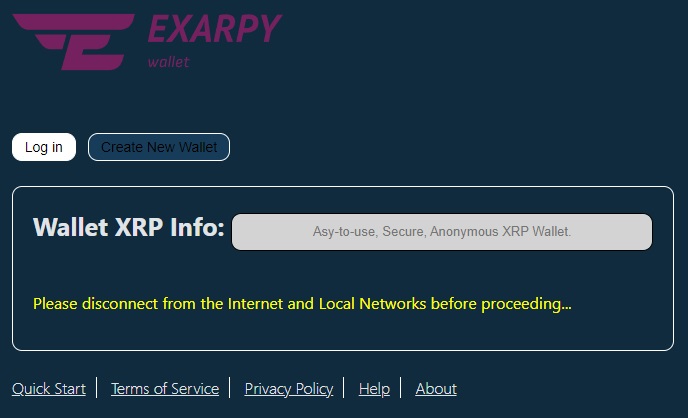
1. Click the "Log In" button and follow the instructions.
2. You will be asked to disconnect from the Internet and local Intranet network. Learn how to disconnect your device from the network from its instruction manual or use the operating system properties. Click the "Log In" button again.
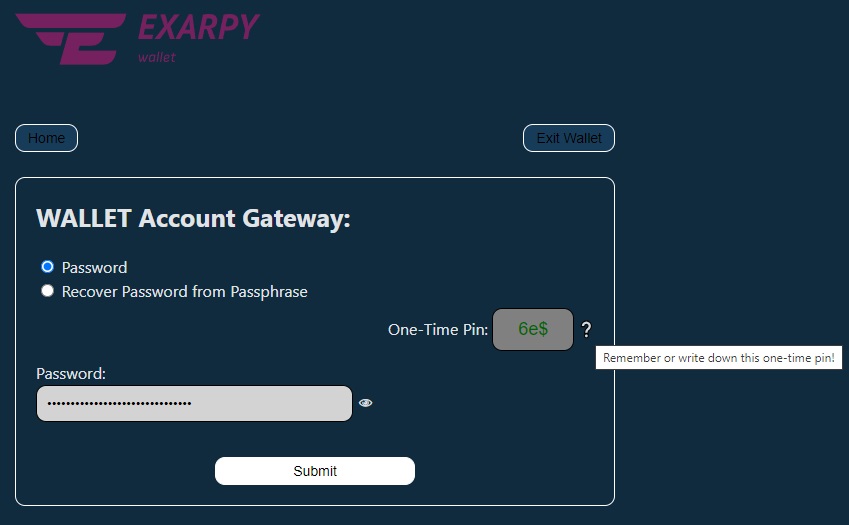
 3. Enter your Password in the provided window form, remember or write down the "One-Time Pin" provided - you will need it later to sign transactions when sending funds. Click the "Submit" button and reconnect your device to the Internet.
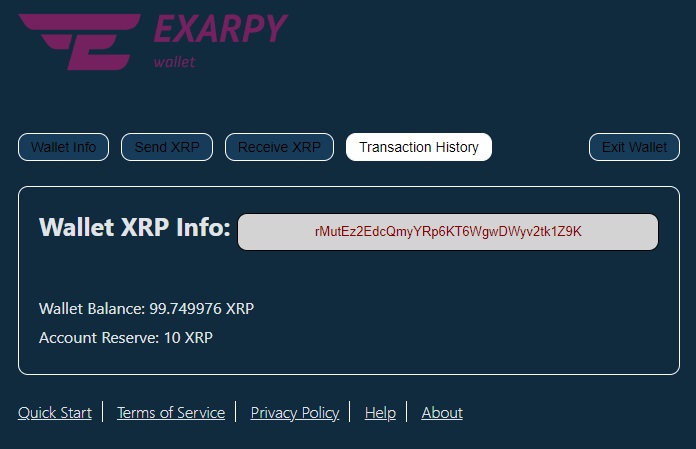
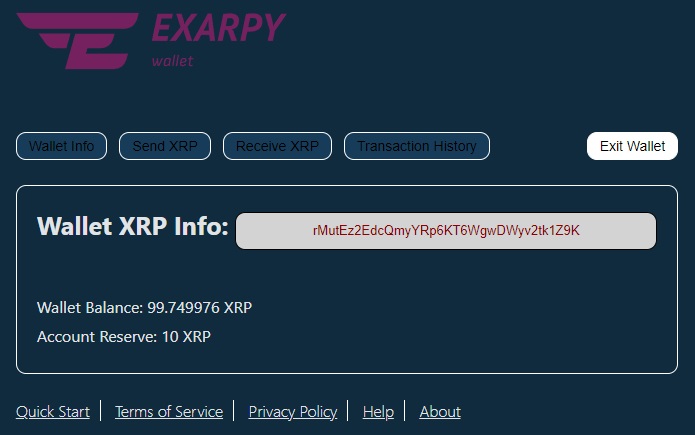
 4. After successfully logging into your wallet, you will be presented with several buttons to choose from: "Wallet Info," "Receive XRP," "Transaction History," and "Exit Wallet."
5. Click the "Wallet Info" button to retrieve information about Wallet Details.
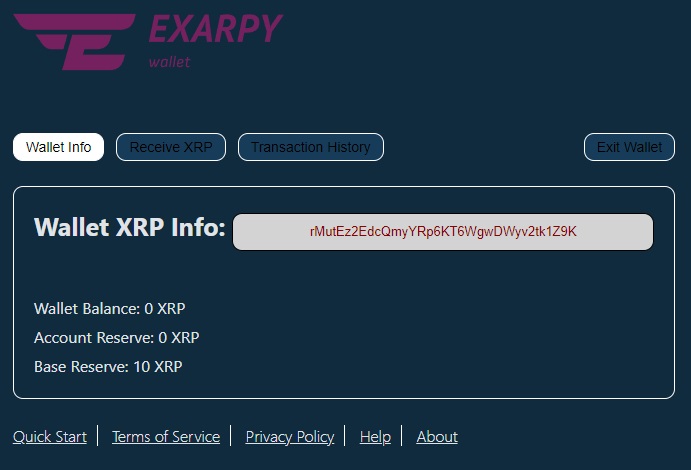 If your wallet has no funds, you need to fund it using one of the following methods:
Method 1:
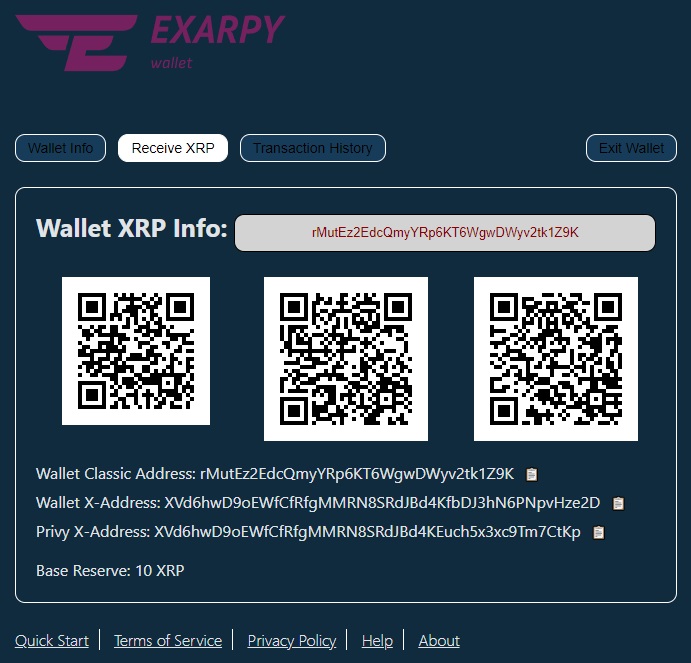
- Open the "Receive XRP" section and obtain the QR code of your wallet address,
- Provide the QR code or your wallet address to the sender of the funds,
 - After sending the funds, refresh the application page after 5-10 seconds or click the "Wallet Info" button,
- The funds should be received and reflected in your balance.
Method 2:
- Find an online service for fiat currency-to-cryptocurrency exchange,
- Follow the instructions of this service to receive funds into your XRP Wallet,
Keep in mind that you can receive only XRP coins to your "XRP Wallet EXARPY"!
After a deposit, your "XRP Wallet EXARPY" will be activated.
Note: `Wallet Classic Address`, `Wallet X-Address`, `Privy X-Address` are duplicate addresses of your wallet. Funds sent to any of these addresses will be delivered to your wallet.
2.3 Sending Funds
Log into your wallet by following steps 1-5 in section 2.2. To send funds, you only need the recipient's wallet address. If there are funds in your wallet, you will see the "Send XRP" button.
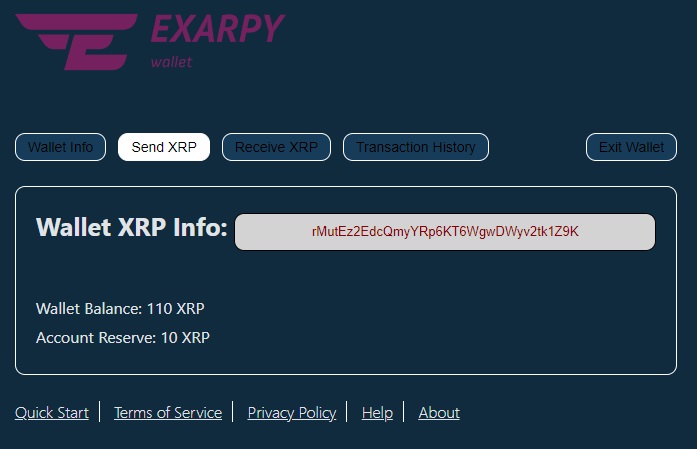 1. Click the "Send XRP" button.
2. After 5-10 seconds, you will see your "Available Balance," the amount of funds in your wallet, minus the required XRPL reserve (currently 10 XRP).
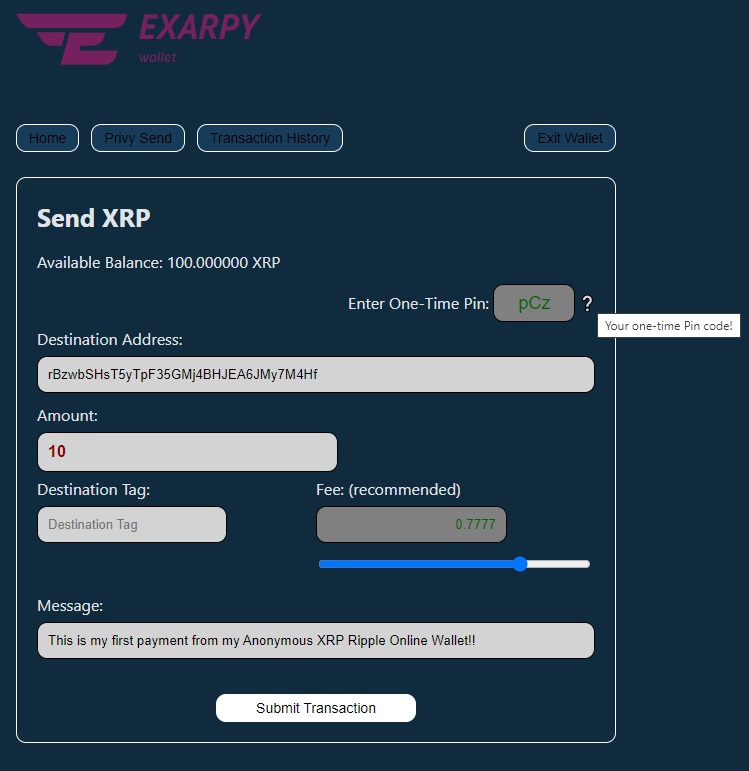
3. Enter your "One-Time Pin" received in step 3 of section 2.2. Upon successful entry, the Pin color will change from red to green.
4. Enter the "Destination Address." In case of an incorrect entry, you will receive an error, and the border color around the address input window will turn red. Correct the recipient's address to the correct one.
5. Enter the "Amount" - the amount of funds you want to send. Remember, an incorrectly entered amount cannot be corrected after sending funds. You will have to ask the payment recipient to return the excess funds, which is not always possible. Be attentive!
6. If necessary, specify the "Tag." The tag is an integer value and can only contain digits (provided to you by the payment recipient as part of the address details). Leave this field blank if there is no "Tag."
7. If you wish, you can write a text message for the recipient of your funds (optional).
8. If all required fields are filled in correctly, the "Submit Transaction" button will be activated and you can click on it.
 9. Upon successful completion of the transaction, you will receive a corresponding message, and the "Available Balance" will be reduced by the payment amount.
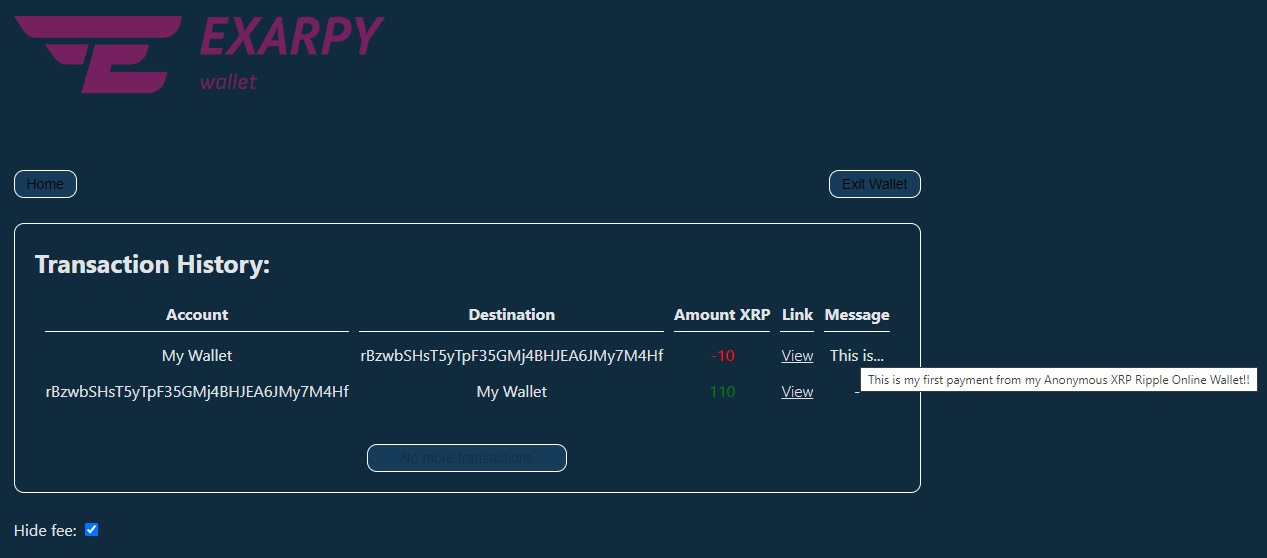
2.4 Transaction History
After conducting necessary transactions involving receiving and sending payments, you can review the Transaction History by clicking on the "Transaction History" button.
 To access the complete message text, just hover your mouse over the abbreviated snippet.
Additionally, using the "Load More" button allows you to extend the range of transactions until you obtain the complete wallet history.
To access the complete message text, just hover your mouse over the abbreviated snippet.
Additionally, using the "Load More" button allows you to extend the range of transactions until you obtain the complete wallet history.
2.5 Wallet Logout
To ensure security, always log out of your wallet by clicking the "Exit Wallet" button.
 This action helps preserve your privacy on the device, clear the local browser cache, and prevent unauthorized access to information about the funds in your wallet. Even if you leave your wallet open, it will automatically close after a short time.In the event of unauthorized access to the wallet, a "One Time PIN" will still be required to send your funds, which you should either remember or write down. Never store your "One-Time Pin" on the device, even temporarily. It's best to memorize it. If you forget it, simply log out of the wallet and log in again to receive a new "One-Time Pin," which is unique for each session.